
No
Sewing Machine Required Refashion – Old or Too Big Sweaters
into Cardigans
Sweater
season is here! Don’t take that exclamation point as excitement; I actually despise
the cold weather. I’m not a big fan of big bulky coats and bundling up, but I
do enjoy a cute sweater. Even more enjoyable than sweaters: a super cute cardigan.
With the holiday’s just ending my bank account is not allowing me to go and
spend a whole lot, but my taste is a bit richer than said bank account. Sigh… I
guess I just have to be creative!
Now I did
happen to find a couple of sweaters in my closet that would do just the trick,
but that didn’t stop me from enjoying a trip to Goodwill! Goodwill is a magical
place for crafters like me. Everything can be turned into something fantastic,
and it is super cheap!! Well on this particular trip I didn’t happen to find
any refashionable sweaters, but I did just so happen to see this gorgeous
beauty.

A Vera
Bradley messenger style bag, seeing that it was legit Vera Bradley I expected a
good chunk of change to be on the price tag. Oh but fret not my dears, that
beast was only $3.99!!!! I am pretty sure some of you may have audibly said “Shut
the front door!” or something to that nature; because I surely did! Ok enough
showing off my great find back to the cardigans.
Here are
the supplies you will need for this:

· A sweater ( or two or four or nine)
· Buttons
· Heat n Bond Iron on Adhesive Hem tape
· Measuring tape
· Scissors and/or Rotary cutter
· Lace or Bias tape (Optional)
· Marker
· Iron and Ironing board.
To
get started I turn my sweater inside out. That way any marks I make on the
sweater won’t be seen.

Then
measure the width of the sweater to determine the center.
Once you have that, mark down the middle.

I
then take the cardigan and place it over the edge of the ironing board.
I have electric scissors (call them what you
will, I totally know they are the lazy man’s scissors, but oh well I like them)
that I use for things like this. That way I am only cutting just the side I
want and it is a straight line. You can take a larger quilting square and put it
down the sweater and cut down the line with a rotary cutter too if you prefer.

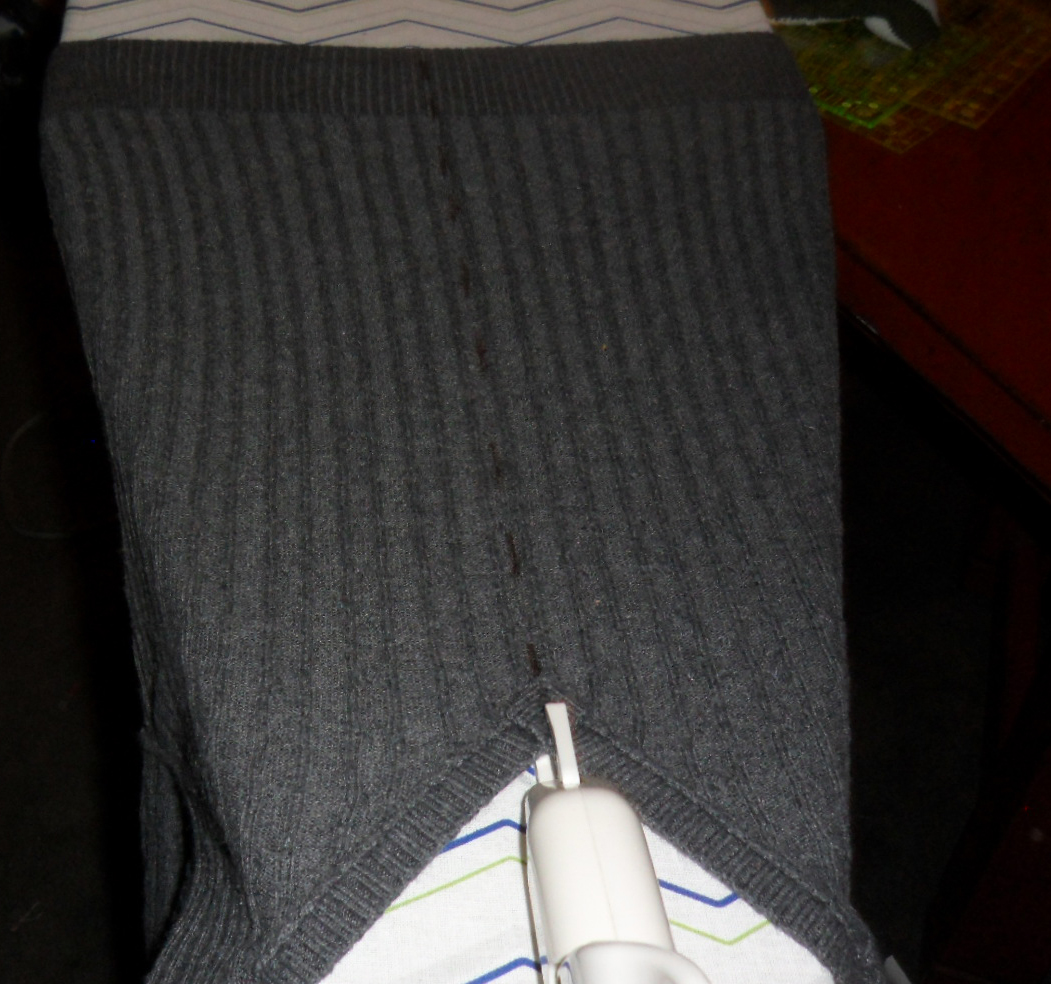
Once
the sweater has been cut down the middle you will take the iron on adhesive and
cut a strip to the length of the front of the cardigan and place it along the
edge.

There
is usually a smooth side and then kind of a gripy side to the adhesive. It
really doesn’t matter which side you lay flat, because you are going to fold
the edge over. Then take your iron and iron flat the new hem/edge.

Repeat
this process for both sides. This gives the cardigan a nice clean edge.

I know it is hard to tell in this picture, so
here is another view of the edge.

Now
you can determine how many buttons you want to go on the front of your
cardigan. I debated between 3 and 4 and eventually 4 won.

I
am kind of OCD about things and wanted to measure down the front of the edge so
I could evenly place my buttons.

I absolutely hate math, but when it comes to
crafting I all of a sudden remember it all and feel like a math genius. It
usually doesn’t last long and then I have to go back to adding with my fingers
and toes J.
Before
you sew on your buttons, if you have any lace or bias tape or ribbon that you
might want to add to the edge to pretty it up a bit, try it out. I didn’t have
a lot that I liked with this sweater so I tried out this lace.

It
is a pretty lace but with the busyness of the button’s I didn’t want it to
compete. If you happen to have just plain buttons then adding the lace or ribbon
might be just what you want.
Hand
sew on the buttons where you marked. If this is a too small sweater that won’t
be a cardigan that buttons up you are finished! If you want to add button holes
you can. You can do one of two things to figure out where your button holes go,
1.) Put on the cardigan and butt up the edges and mark it. Or, 2.) Overlap the
button hole edge over the edge with the buttons and make a mark. I chose option
2.

Once the marks have been made I found the easiest way to cut the button holes
without them looking jagged (you have to remember that the edge is now thicker
and has the strength of the adhesive on its side, so it may not be easy to just
cut with scissors) is to fold the mark in half like so,

And
then take your rotary cutter and cut the edge. It isn’t easy to take a picture
and cut with the same time… unless I wanted to lose the tip of one of my
fingers (and I just had my nails done so I would rather not have nice pretty
nails and a nubbin), so I couldn’t get a picture of that process. Because of
the knit of the fabric the clean slice can be well hidden and looks nice.
After
all button holes are cut to size, test it out. Button that baby up and see how
it looks!

Here
is my finished product!

And
here is the other sweater too! This one wasn’t too small it just fit really
funny and now it works great!

If
you are wondering how long it took to make these, from start to finish maybe 15
minutes. That is the great part about them being no sewing machine required. I’m
pretty sure it took me longer to write the blog… and get distracted with
looking at old pictures on my computer… whoopsie J,
than it did to make one of these! If you try this out please feel free to let
us know how yours turned out. We would love to hear feedback from you guys!

Follow us on Facebook
No comments:
Post a Comment